


The Sobremesa 18.
chill german pear cake

Don’t assume anything from my brown skin and my surname, but I’m actually about a quarter German.
I’ve always been very proud of my German heritage. Growing up, I would get the dreaded “what are you” question, which ANYONE READING WHO IS MIXED RACE OR BROWN IN GENERAL KNOWS EXACTLY WHAT I’M TALKING ABOUT! And I would always smugly answer “I’m Spanish, Puerto Rican, German, French, Swiss, and a bunch of other things,” glad to have an answer that really threw them for a loop. And they would go “German! Really! Wow! So interesting!” *As if I couldn’t possibly both be brown and German.* Yes, how do you think I came to be 5’9”???

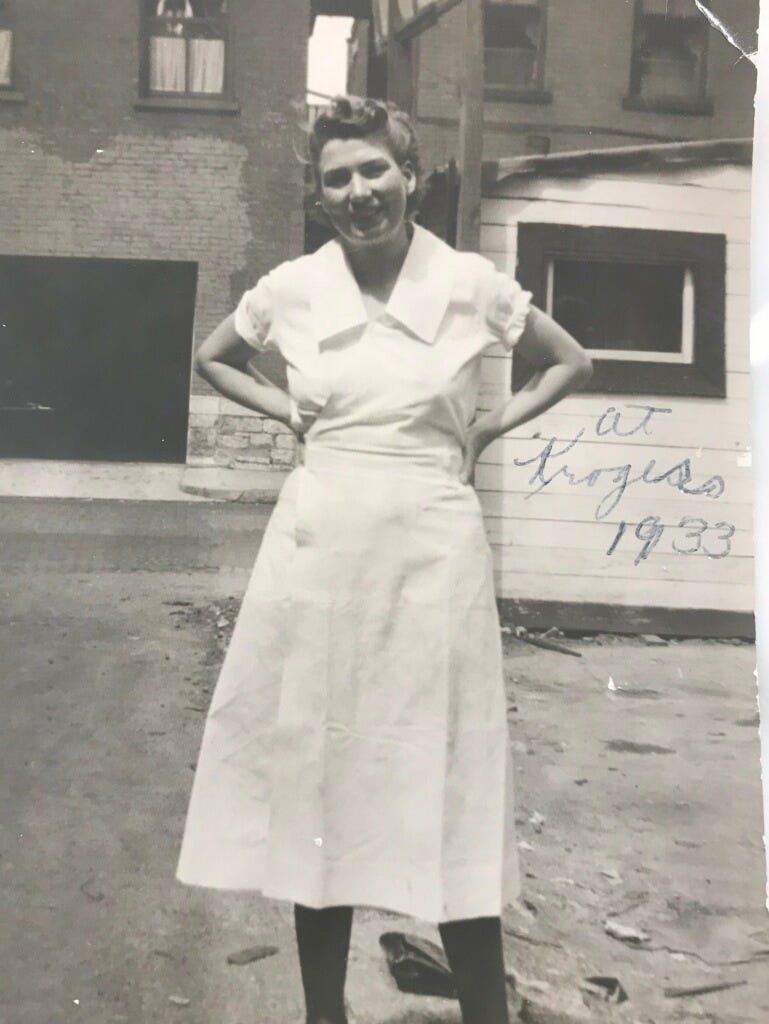
My mother is the one with the German blood, and she learned to cook and bake from a long line of strong German women. My great-grandmother Ruth Koebel, actually owned both a bakery and a grocery store in the 1940s-1970s. Koebel’s Confectionary sold soda pop, baked goods, and cigarettes (obviously) and then Koebel’s, the grocery store, sold produce, meats, small house-wares and had a soda bar with her daily German home-cookin’.
As with most of our understandings of our ancestry, I only had a vague idea of mine. I knew the key points: Mom = German+ Irish+ some other European countries. I figured I’d ask the expert - my Grandma Karen.

Major kudos to this side of the family for trickling their love of cooking and baking all the way down to lil’ ole me.
Growing up, my mom made German dishes just for special occasions. Like hand-pressed Spätzle for my dad’s birthday or Cabbage Rolls on New Years.
But Germans also LOVE their sweets. So it’s no surprise that almost all of the sweets at Baked&Wired are passed down old German recipes on my mother’s side. My mom says you know it’s a German recipe at B&W if there are tons of nuts in there (true story: she actually refused to sell a chocolate chip cookie without walnuts for years, which of course pissed a lot of people off. but like, yeah, they taste better with walnuts. sorry.)
It’s so interesting looking at our past to see how it’s shaped who we are. It’s because of my German side that I grew up with such an appreciation for cooking and baking. Little did those Heinmillers know that their great-grandaughter would open a bakery with all of their recipes. And really little did they know that their great-great-grandaughter would still be making their recipes and talking about them here on this newsletter with all of you :)
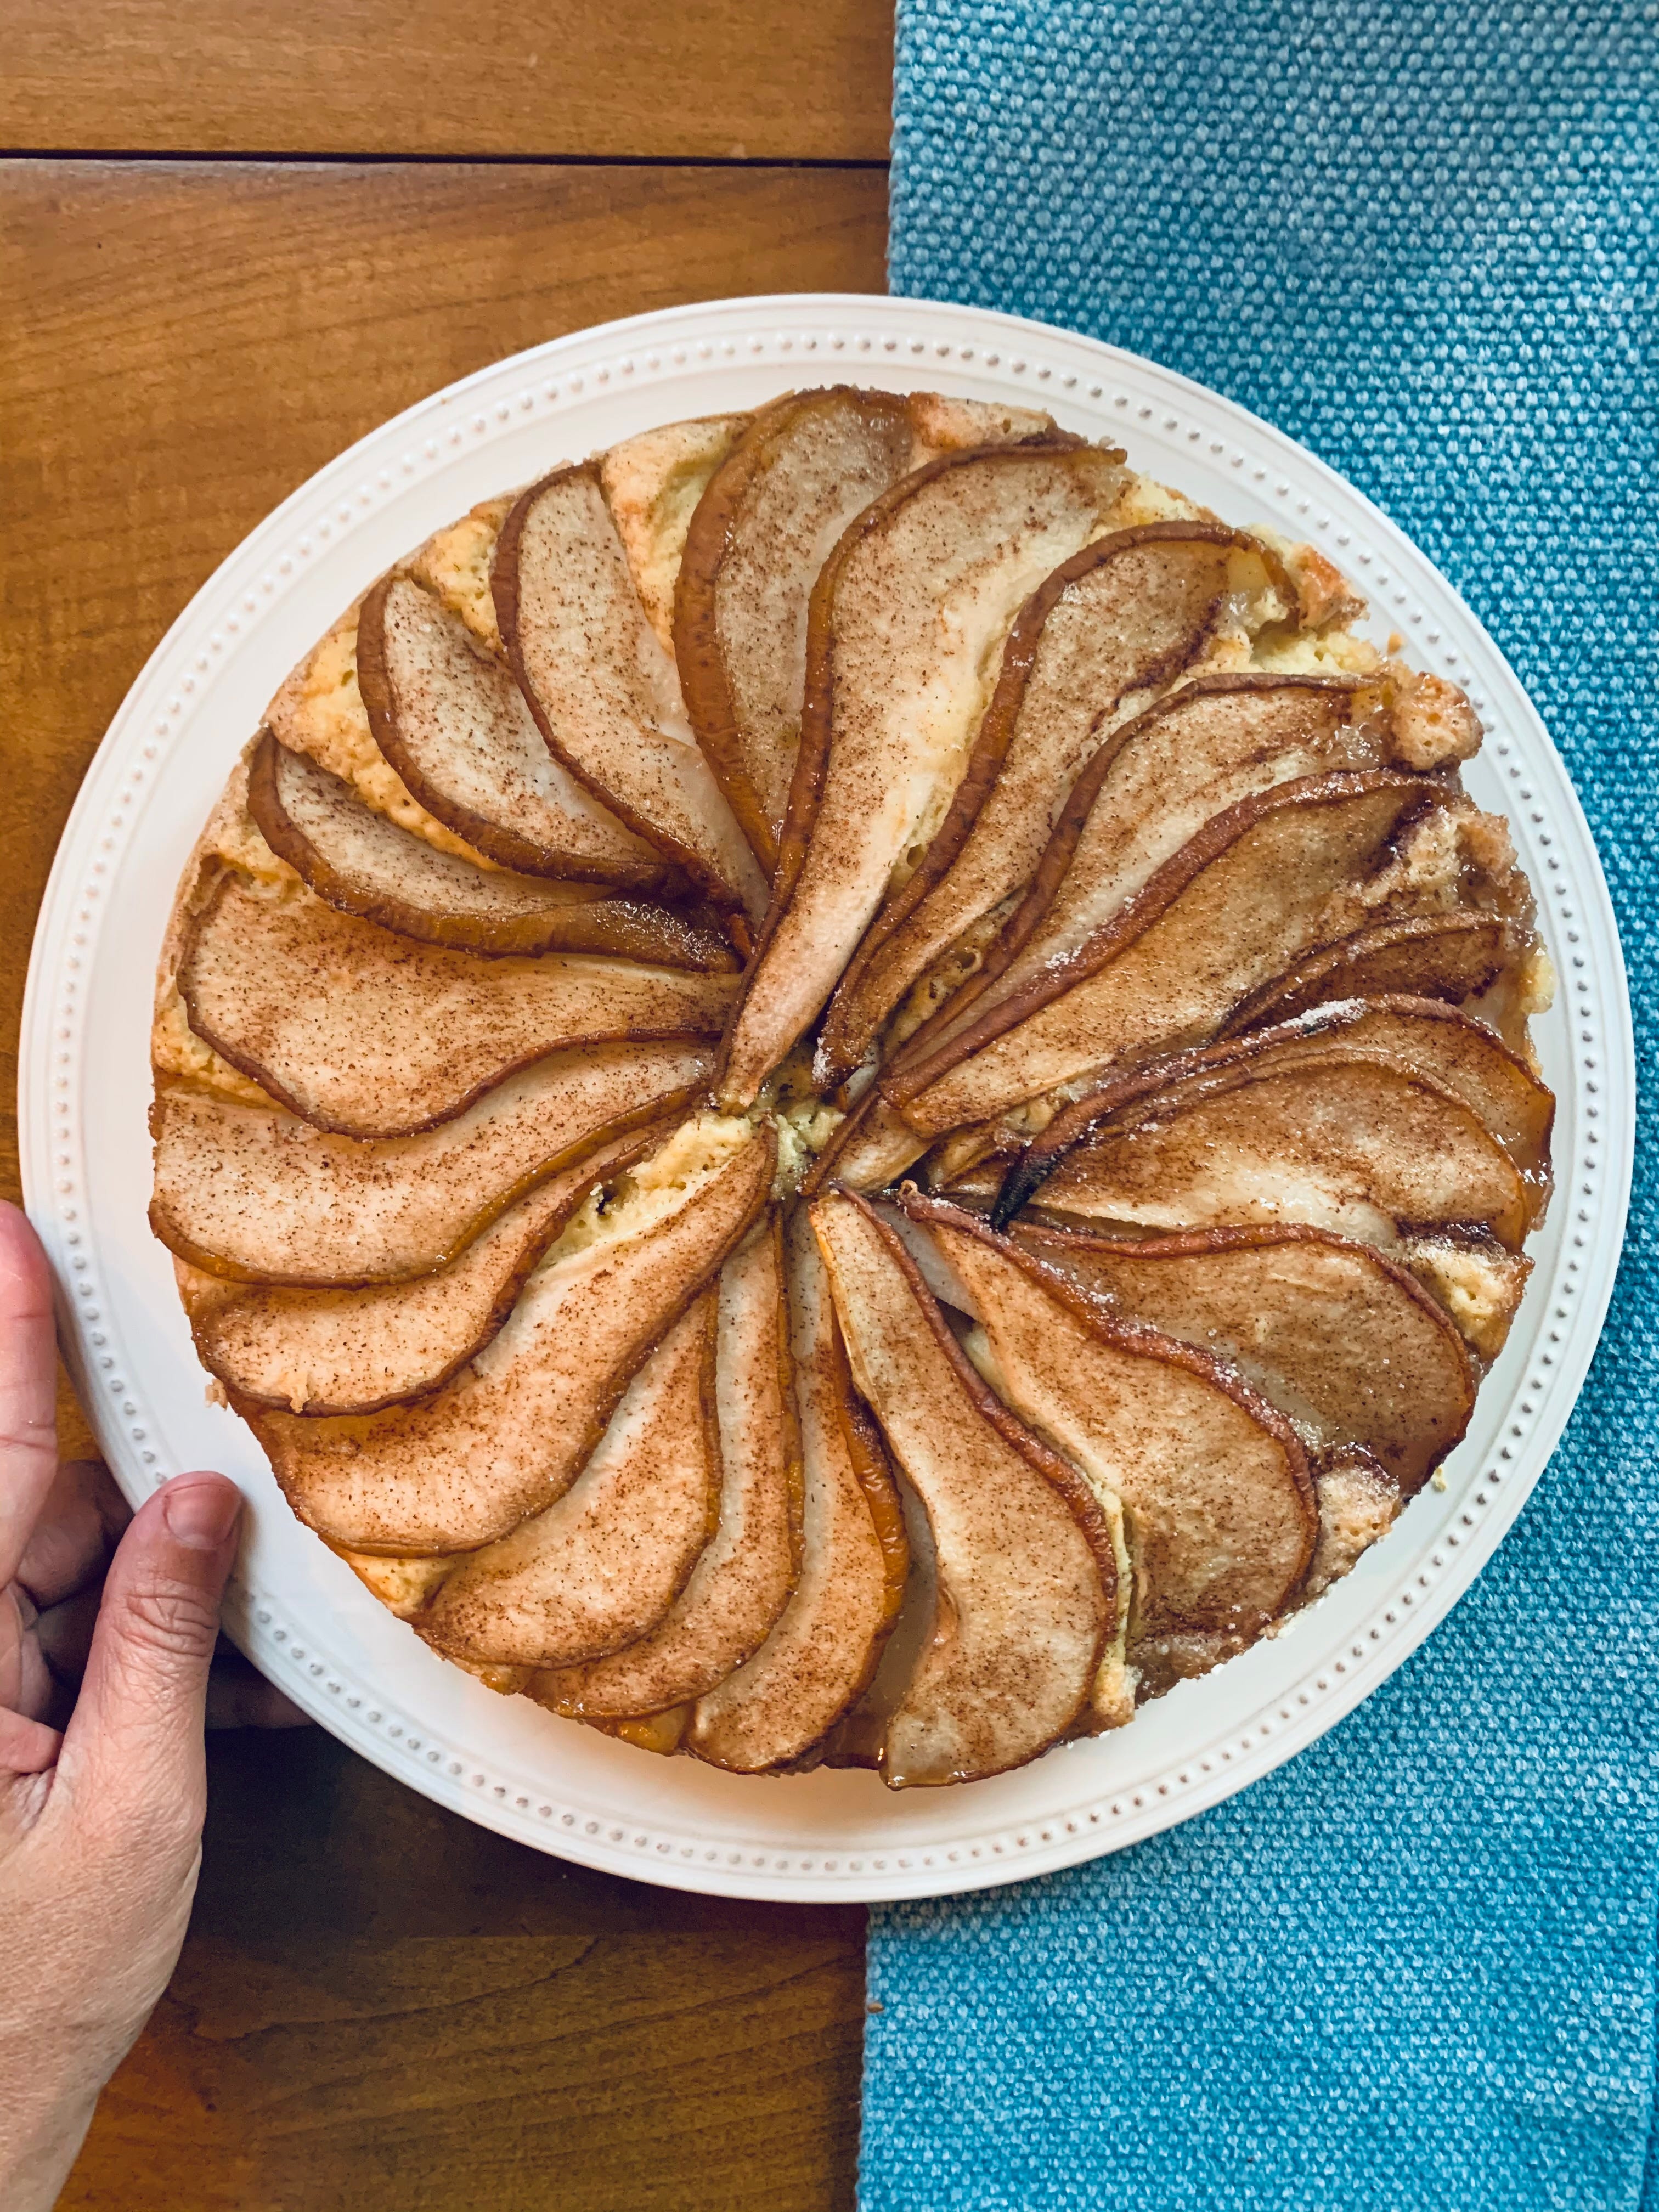
And this takes us to to this Birnenkuchen- which translates to Pear Cake.
I love this recipe because:
it’s a shoutout to my Deutsche familie
it features my fav fruit (pears)
it’s not too sweet so it’s suitable for breakfast (anyone following this newsletter for a bit knows I love to make sweets that I can eat at all times of the day)
it’s extremely aesthetically appealing (your ‘gram followers will thank you!)
and most importantly, it’s about as chill as you can get in making a cake.
Unlike the super extra cake I made for my birthday, this one is extremely low fuss and uses ingredients you should always have in the house anyway. You can make it in a pinch for any occasion. My occasion was literally that I was hungry, had a free hour to spare, and that my pears were going downhill and I needed to do something with them asap.
Don’t have pears?
No problem.Use apples! This cake is actually supposed to made with apples, an Apfelkuchen, but in my forever support of the underdog of fruit, I opted for pears (and like I said, my pears were about to go bad).
I promise you can make this in an afternoon. Then, you can have it with an afternoon tea, then have it again after dinner, and then have it again the next morning for breakfast with coffee. A couple rounds of that and you’ll end up eating this whole cake in about two days- guilty!)

Chill German Pear Cake
Ingredients
For the cake
2 cups all-purpose flour
1/4 cup sugar
2 teaspoon baking powder
1/4 teaspoon salt
1/2 cup, unsalted butter, cut into thick slices
1/2 cup milk (I actually didn’t have whole milk (bc I’m a millennial living in Brooklyn) so I subbed for oat milk instead)
2 large eggs
2 teaspoons vanilla
For the topping:
2 large pears
3 tablespoons sugar
1 teaspoon cinnamon
Let’s do it!
Preheat the oven to 400ºF.
Grease a 9-inch cake pan or tart pan with butter. Bonus if you can put a circle of parchment on the bottom, so it is less likely to stick to the pan. But, if you don’t have parchment, nbd. (To make the parchment circle, I just take a sheet of parchment, put the pan on top, draw a circle around it with a pen, and then cut it out. This is as arts and crafty as I get, trust me). Pour a bit of flour in the pan, and swirl it around so that the flour is covering all the surfaces. Tap out the excess.
Blend the flour, sugar, baking powder, and salt in a medium bowl. Add the butter pieces, and with your hands, squeeze together repeatedly until the butter is incorporated into little balls and there is no dusty flour left (like how I make apple crumble topping- check out my Instagram highlights for a video tutorial). Alternatively you can use a food processor, but honestly, it is just less fun.
In a separate bowl, lightly beat the milk, egg, and vanilla with a fork until well-blended. Add this to the flour bowl and mix until just incorporated, but be careful to not over mix.
Spread the batter evenly into the pan. It will be thick and kind of like pancake batter.
Cut your pears lengthwise in ¼ inch slices. Technique: cut off the tippy-top of the pear and then cut the pear in half. Place skin side up and slice in 1/4 inch slices. Then inspect each slice and remove the core bits - this is a little bit more time-consuming, but this way you are getting the maximum amount of pear!
Place one pear slice at a time lengthwise on top of the batter in the pan, starting with the top. Layer each pear overtop the last one, so there is a small overlap, and work clockwise around the pan until all of the batter is completely covered.
Top generously with the cinnamon sugar mixture.
Bake for 50-60 mins. You’ll know it’s finished when the edges start to brown and pull away from the pan, and when you insert a toothpick in the middle, it comes out clean.
Rest for 10 minutes. Use a knife to run along the edge of the pan to separate the cake from the pan.
If you don’t have a springform pan (where it releases on the bottom) then place a plate on top and gently flip the cake over so the bottom is now on top. Then pull off the parchment paper. Then place a new plate on top of the cake again (so the cake is now sandwiched between two plates) and gently flip it back over so it’s facing right side up.
Top this with some whipped cream and you’ve got yourself a party!
Best stored in an airtight container or wrapped tightly with plastic wrap. It tastes it’s super best warm, so I recommend heating it up in the oven before re-serving (but I am certainly not above cold cake).
This one goes out to Grandma Ruth. Thank you for passing down your love for baking cakes to me.

Guten Appetit!
Happy Baking,
xox
Tessa